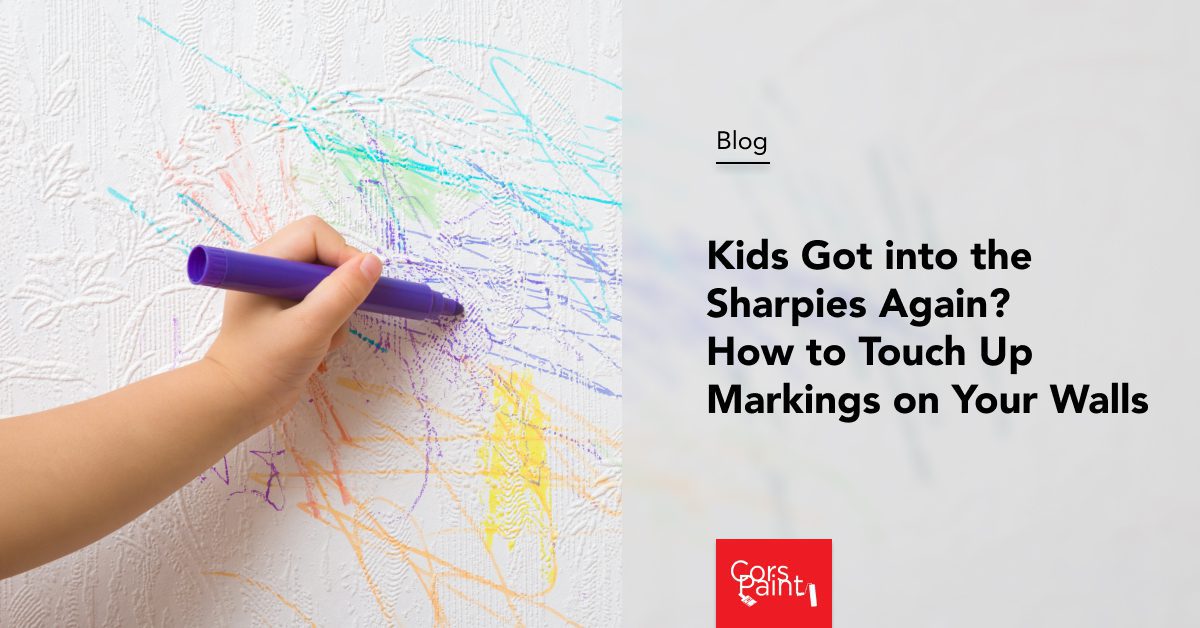
It’s every parent’s nightmare: You walk away from the living room for five minutes, only to find your four-year-old scribbling all over your white walls in crayon or permanent marker.
Is it salvageable? Or, is your only option to replace your beautiful walls with wraparound whiteboards?
The answer? It depends. In some cases, you may want to start from scratch. But if you’re set on trying to touch up your wall, consult this blog for the steps that will give you the best possible chance of success.
Can I Just Clean the Damage Off?
Maybe, but it probably isn’t worth it. If your paint has a higher enamel content, like a gloss finish, you may have some more success than you would with a matte finish. Still, most ways to clean marker damage from a wall – like rubbing alcohol – will end up damaging the paint anyway.
Step 1. Find Your Paint
If you already know what type of paint was used for the wall, congratulations. Your job just got a lot easier. Simply get more of the original paint color and sheen. For a small area, a sample-size can may be enough.
If you don’t know what type of paint was used, use a utility knife to cut a paint chip from the wall and bring it into a paint store, where they can match it for you. It usually won’t be a perfect match, but it will be pretty close.
Step 2. Surface Preparation
While many DIY painters try to skip surface prep, it’s one of the most important parts of any paint job. Clean and dust the area and allow it to dry before you start painting. You should probably sand the area down, too, especially if your existing paint has enamel.
If there’s any physical damage to the wall – chipped paint, holes, or scratches – make sure to repair them prior to painting.
Step 3. Prime Your Area
It’s a bad idea to skip primer, but when you’re painting over high-contrast damage, primer is absolutely mandatory. Primer is a must for fully covering up what’s underneath paint and getting a top layer to properly adhere.
If you skip primer, you’ll likely be able to see the markings from underneath the top layer, which will be more likely to chip, too.
Step 4. Paint!
Using the same tool that was used to paint the wall originally (If you aren’t sure, a roller is probably your best bet), start painting. Try to paint the smallest area possible to cover the damage. The thinner the layer of paint you use, the better.
With a small area, you may be tempted to rush through painting, skipping important steps like covering the floor beneath the wall or applying a messy brush stroke. But even on a touch-up job, all the important rules of painting still apply, and you’ll be able to tell if you skip them.
Still Looking Off? Call the Pros
After patching up the damage, hopefully, it will look like nothing ever happened. But sometimes, the damaged area is too large, or you can still see the damage underneath. The paint may not match perfectly, or the brush strokes might look disconnected. If you’re unhappy with your results, it may be time to cut your losses and ask for professional help.
Our team at CorsPaint knows exactly how to proceed with wall damage, whether that means touching up the wall with an expert hand or simply repainting the wall in its entirety. Don’t go through the trouble of working on the damage yourself, only to be unimpressed with the result. Give us a call today!


0 Comments